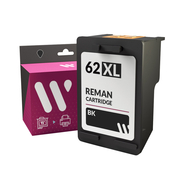
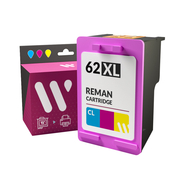
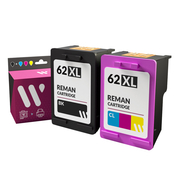
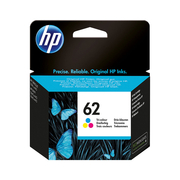
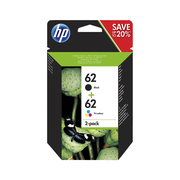
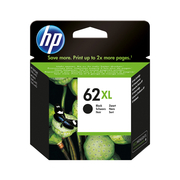
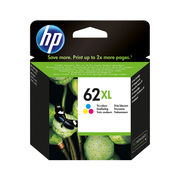
The HP Envy 5640 printer is part of the HP Envy series, one of the most popular series currently. These printers have the main feature of being multifunctional, which means they can perform all the basic printing functions demanded in a printer: they print, copy, and scan. One of the aspects that stands out the most about the HP Envy 5640 printer is its design. It is compact, modern, and has nothing to do with the traditional printers that are usually seen in the market. This is a particularly important factor for our users since it is a printer for domestic use that will be located in one of the rooms in the house. The HP Envy 5640 works with inkjet technology. What does this mean? The consumables it needs are the classic ink cartridges. To be more specific, it only needs two: one black ink cartridge and one tricolor cartridge (magenta, yellow, and cyan in a single cartridge). At Webcartridge, we have a wide variety of them. Original or compatible? In standard or XL capacity format? You will be able to choose the option that best suits your needs.
Everything you need to know about the HP Envy 5640 is right here. Features, specifications, complete guides, and much more.
Features of the HP Envy 5640 Printer
- Dimensions: 454x503x161 mm
- Scanner: Yes
- Photocopy: Yes
- Fax: Yes
- Compatible Cartridges: HP 62
- Input Tray: 125
- Output Tray: 25
- Wireless Connection: Yes
- Airprint: Yes
- Black Printing Speed: Normal-12 ppm, Draft-22 ppm
- Color Printing Speed: Normal-8 ppm, Draft-21 ppm
- HP Smart: No
- Print Cycle: 1000 pages
Guide on How to Change the Ink Cartridges of the HP Envy 5640
If you want to replace the cartridges of your HP Envy 5640 printer, you just have to follow the following steps. Don't worry, with the guide we have prepared at Webcartridge, anyone can do it.
- Before starting, make sure the printer is turned on.
- Lift the top cover to access the ink cartridges.
- Wait for the printer carriage to stop before proceeding.
- Lift the lid of the slot that holds the ink cartridge in place and push it back.
- To remove the cartridge from its slot, pull it upwards.
- Open the ink cartridge and remove it from its package. Be careful to only touch the black plastic.
- Remove the plastic protective tape.
- Hold the cartridge by the sides and insert it into its corresponding slot.
- Close the lid to hold the cartridge in place.
- Remember that the black ink cartridge goes into the slot on the right side, and the tricolor one on the left side.
- Repeat each of the previous steps if you need to change the other cartridge.
- Put the top cover of the printer back into its initial position, and you're done.